
The simple installation guide for CubieBoard4 metal case
CubieBoard4 is the most powerful open source hardware in CubieBoard series and this situation may not change in the foreseeable period of time. Because of the favor of enthusiasts, there were always some voices of making the totally enclosed case for CB4 in the forums. Back in July 2015, Cubie Team had disclosed a metal case design draft, but it was not formally mass produced because of some reasons, the most important one was the unsatisfied surface treatment process. 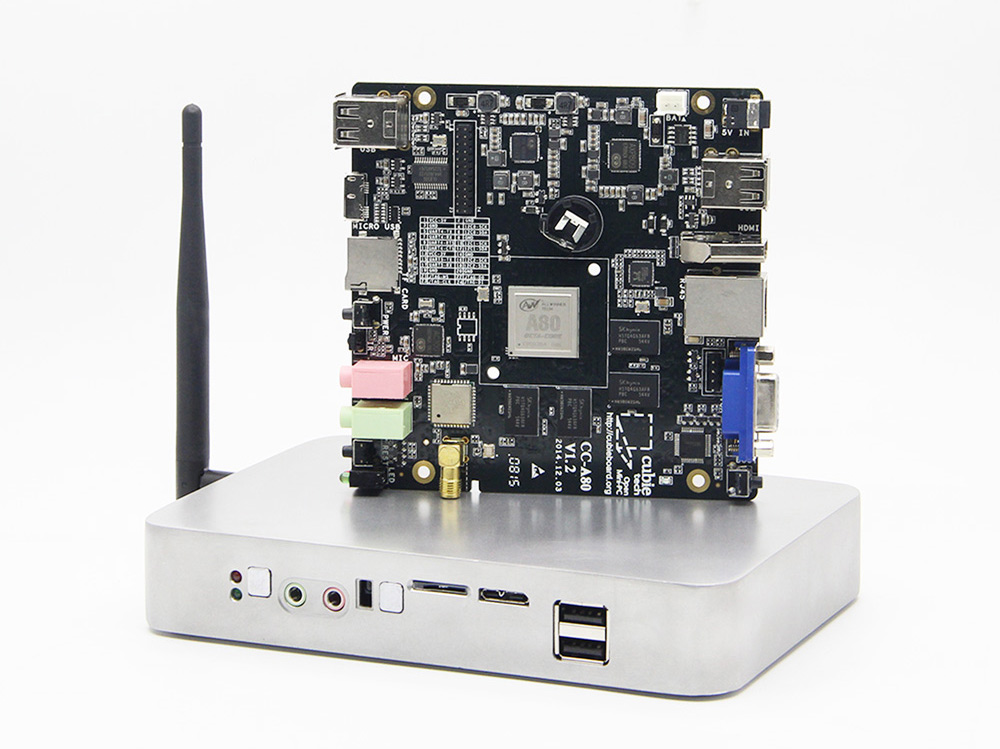 It was a long time, we had no big move. Another startup team/company designed a similar case for CubieBoard4, you can contact with them if you are interested. Anyway, soft fire makes sweet malt, today the CubieBoard4 case has finally come out. Here I give out some photos for you to appreciate.
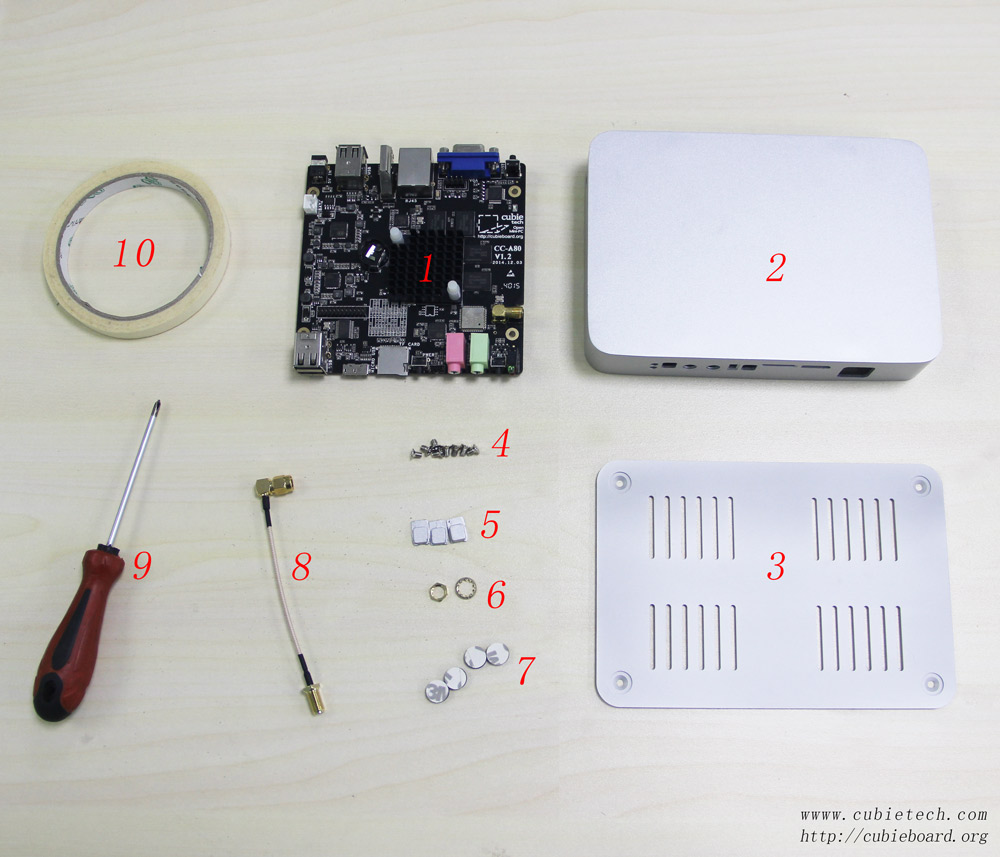
【Accessories and Tools】
All the accessories and tools are listed as following:
1. CubieBoard4 main board
2. CubieBoard4 metallic case
3. Bottom cover plate of the case kit
4. Power keycap, Uboot keycap, Reset keycap
5. Rubber mat x4
6. 5mm screw x8
7. Wifi signal extension cord
8. Cross screwdriver
9. Masking tape or Scotch tape
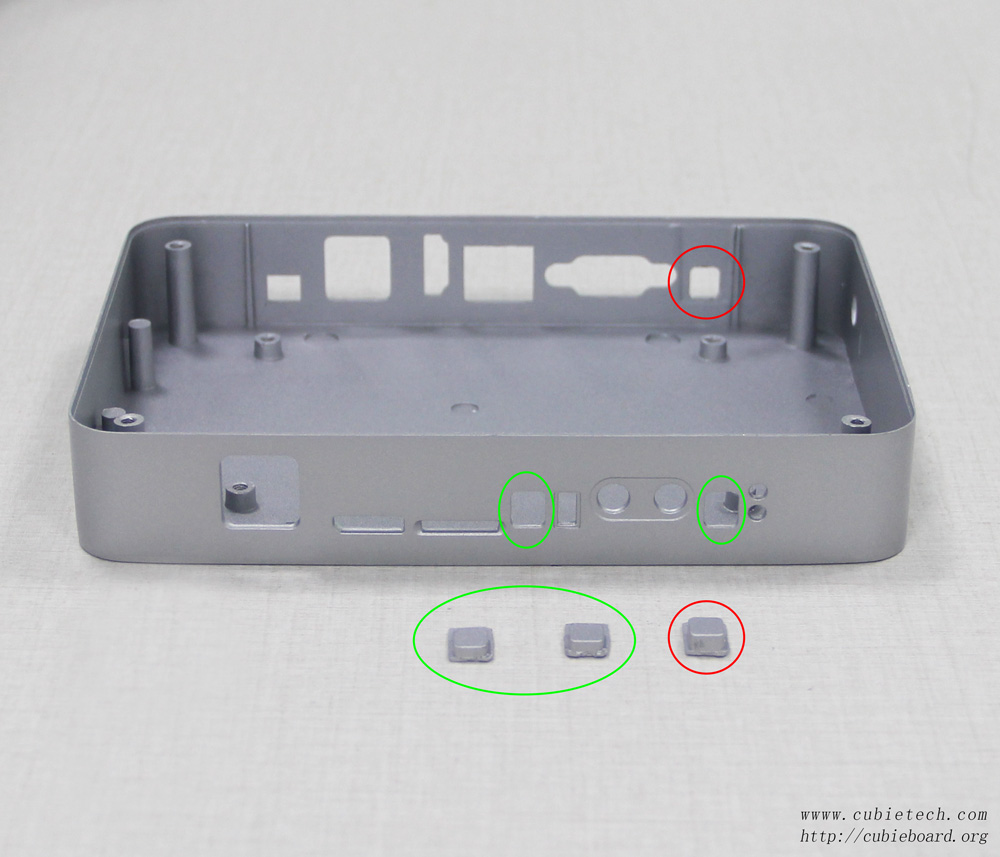
Step1: Fix the Keycaps
Fix the three keycaps to the corresponding location, stick them with masking tape or scotch tape. Note: Power keycap with red marking is longer than the Uboot and Reset keycaps with green marking.
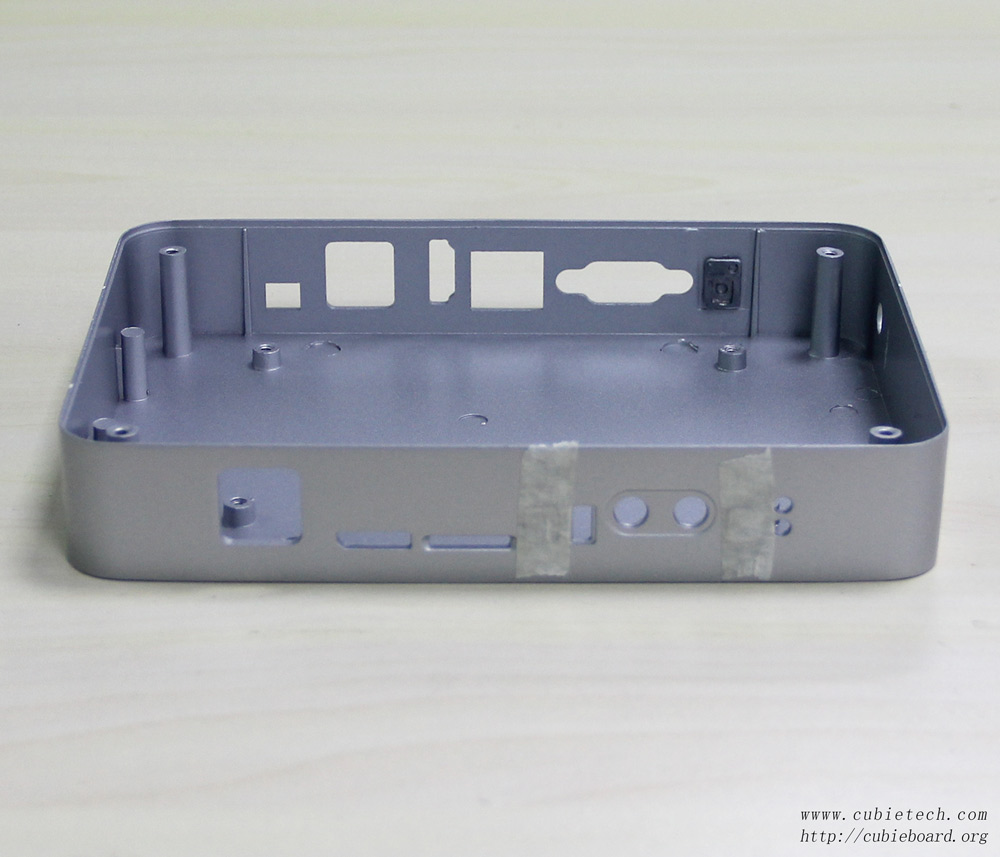
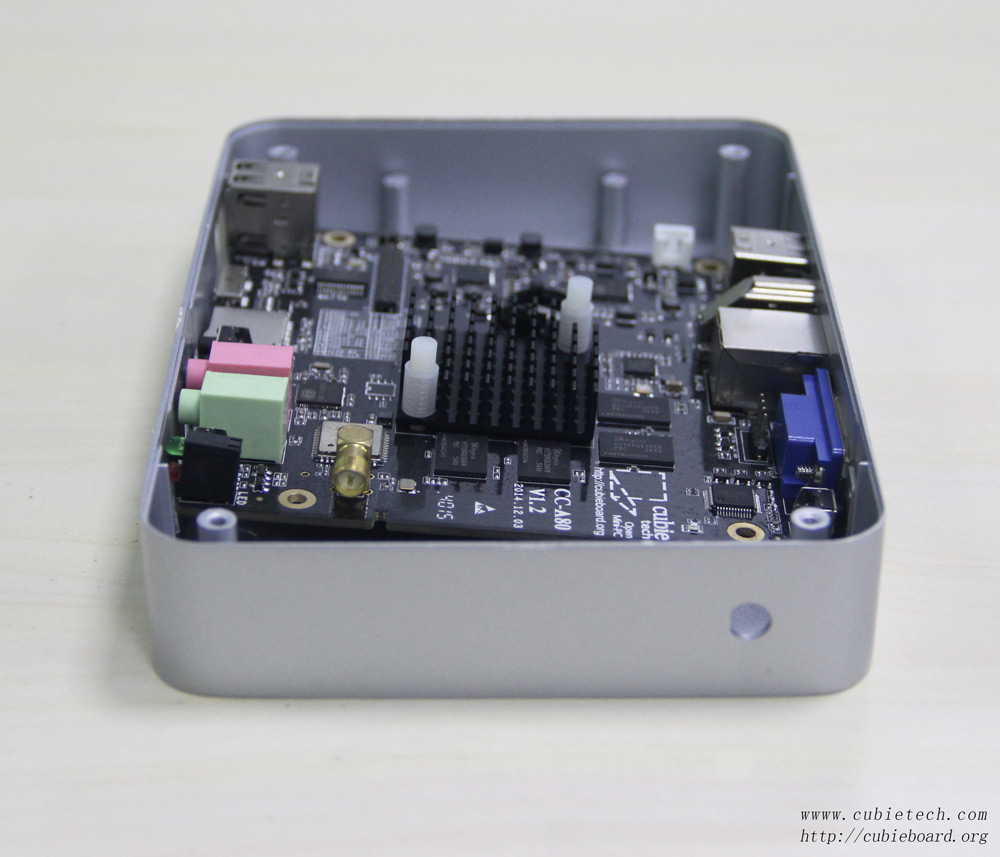
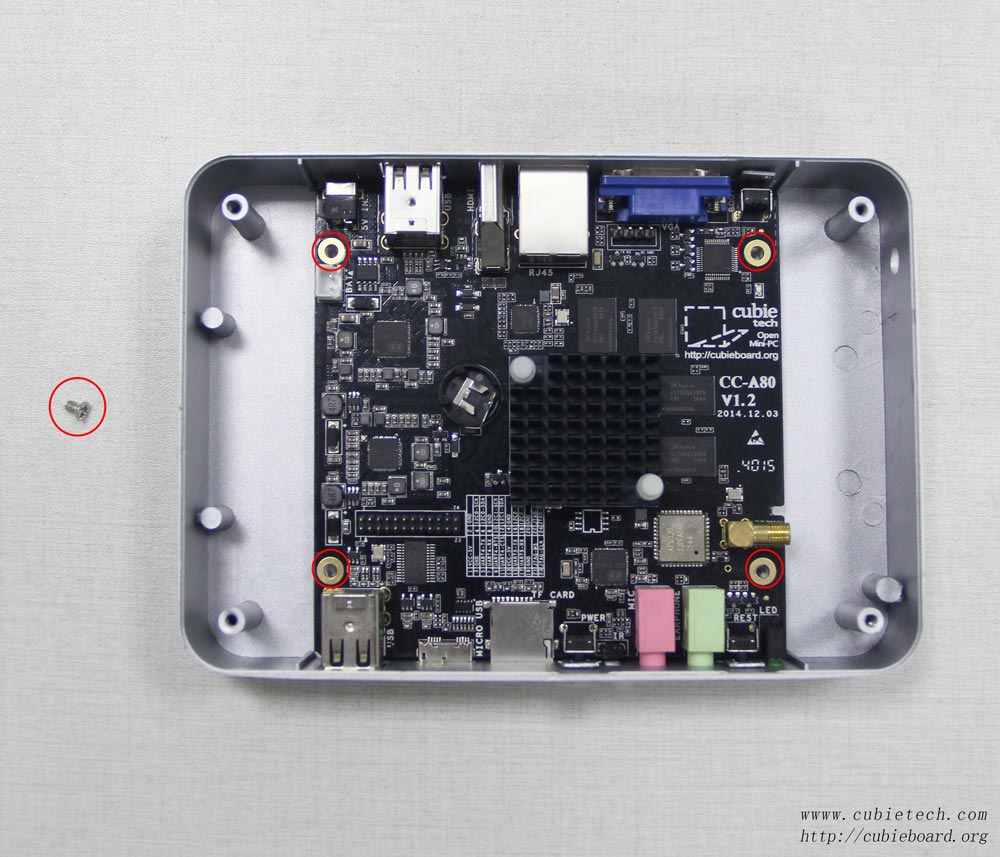
Step2: Fix the main board
Put the CubieBoard4 main board into the case, the backside with VGA connector has to be inserted first as the below picture. Please press every keycap to check the key’s flexibility. Tighten the four 5mm screws to fix the board if the keys are OK.
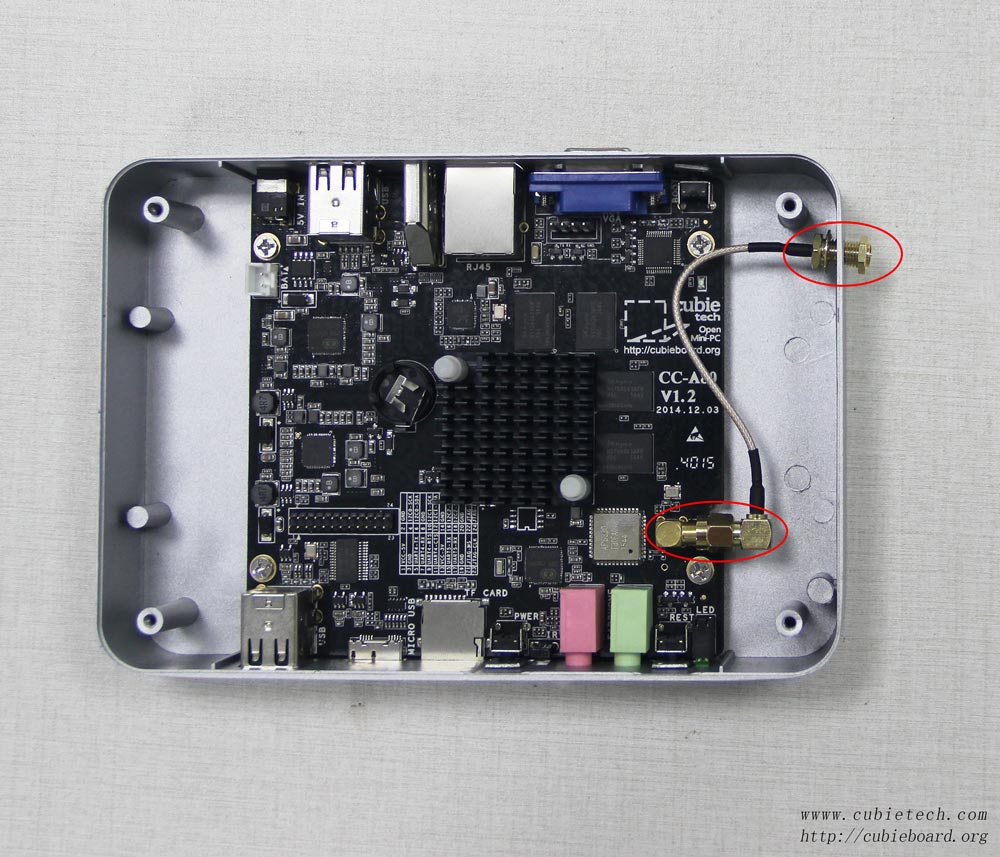
Step3: Connect the Wifi intension cord
Firstly you should mount the shim, and then tighten the screw cap. Maybe you need a small spanner to do it easily.
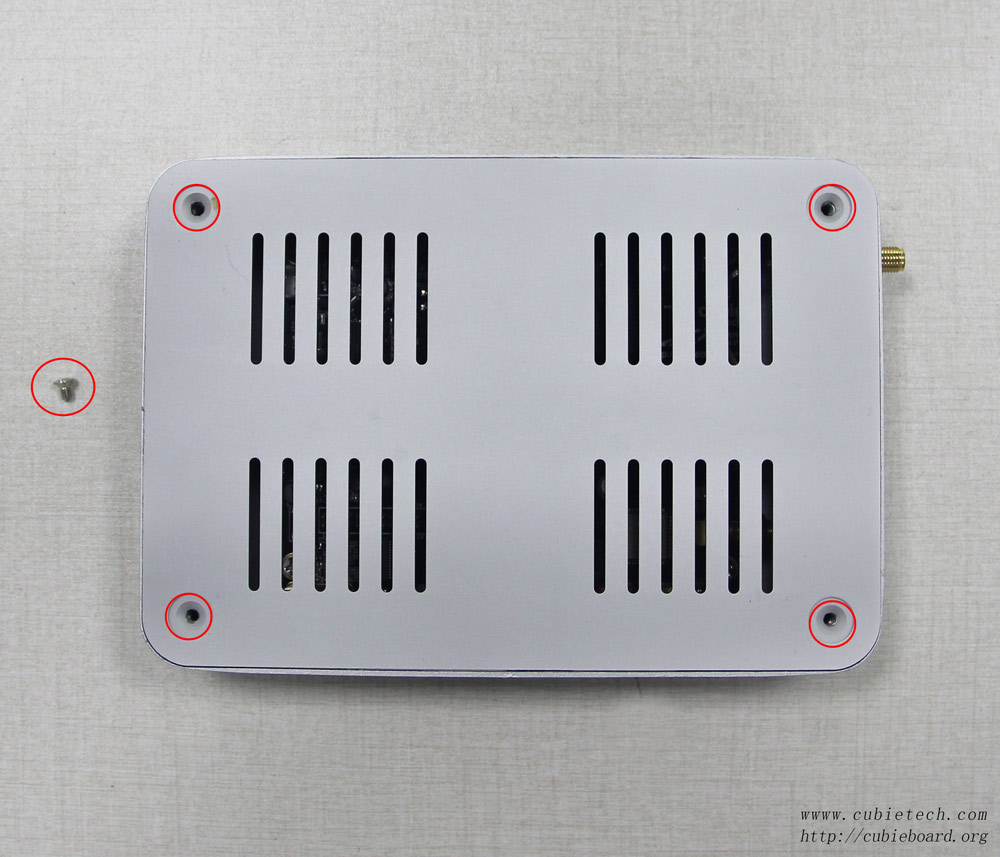
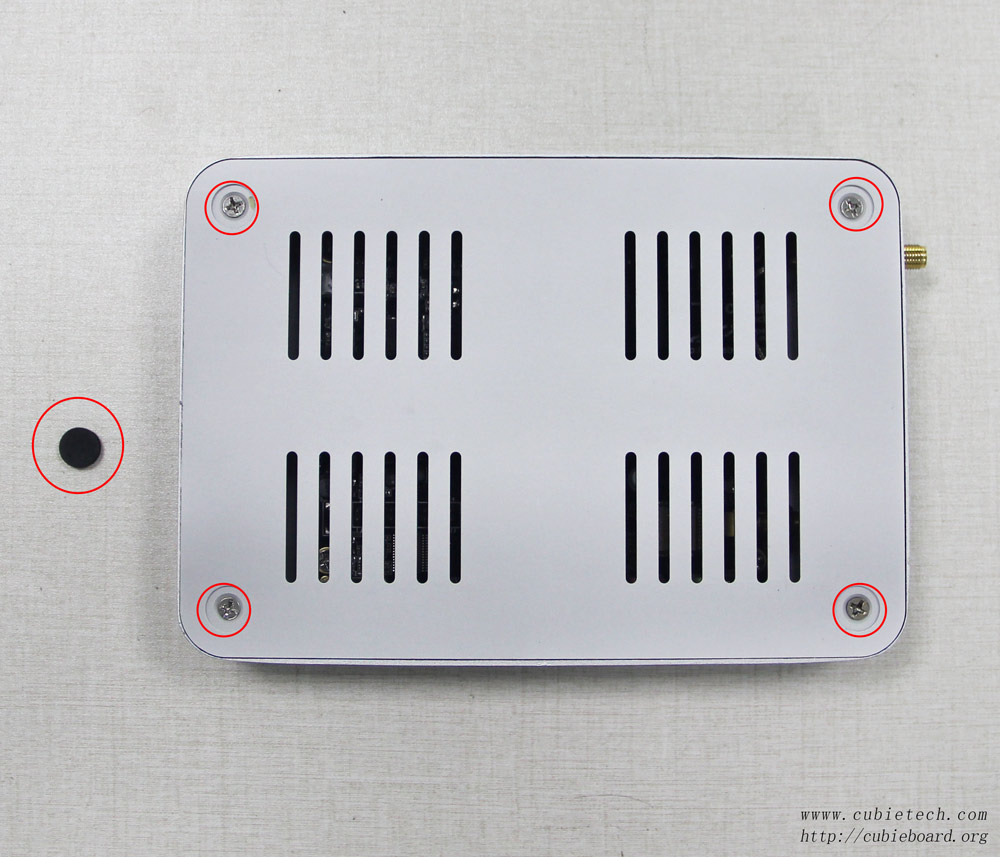
Step4: Install the bottom cover plate
Cover the bottom cover plate, then tighten the 5mm screws as the following picture.
 Step5: Stick the rubber mats
Stick all the rubber mats as below.
These are all the steps, very easy. Have a good journey!
Leave a Reply
You must be logged in to post a comment.